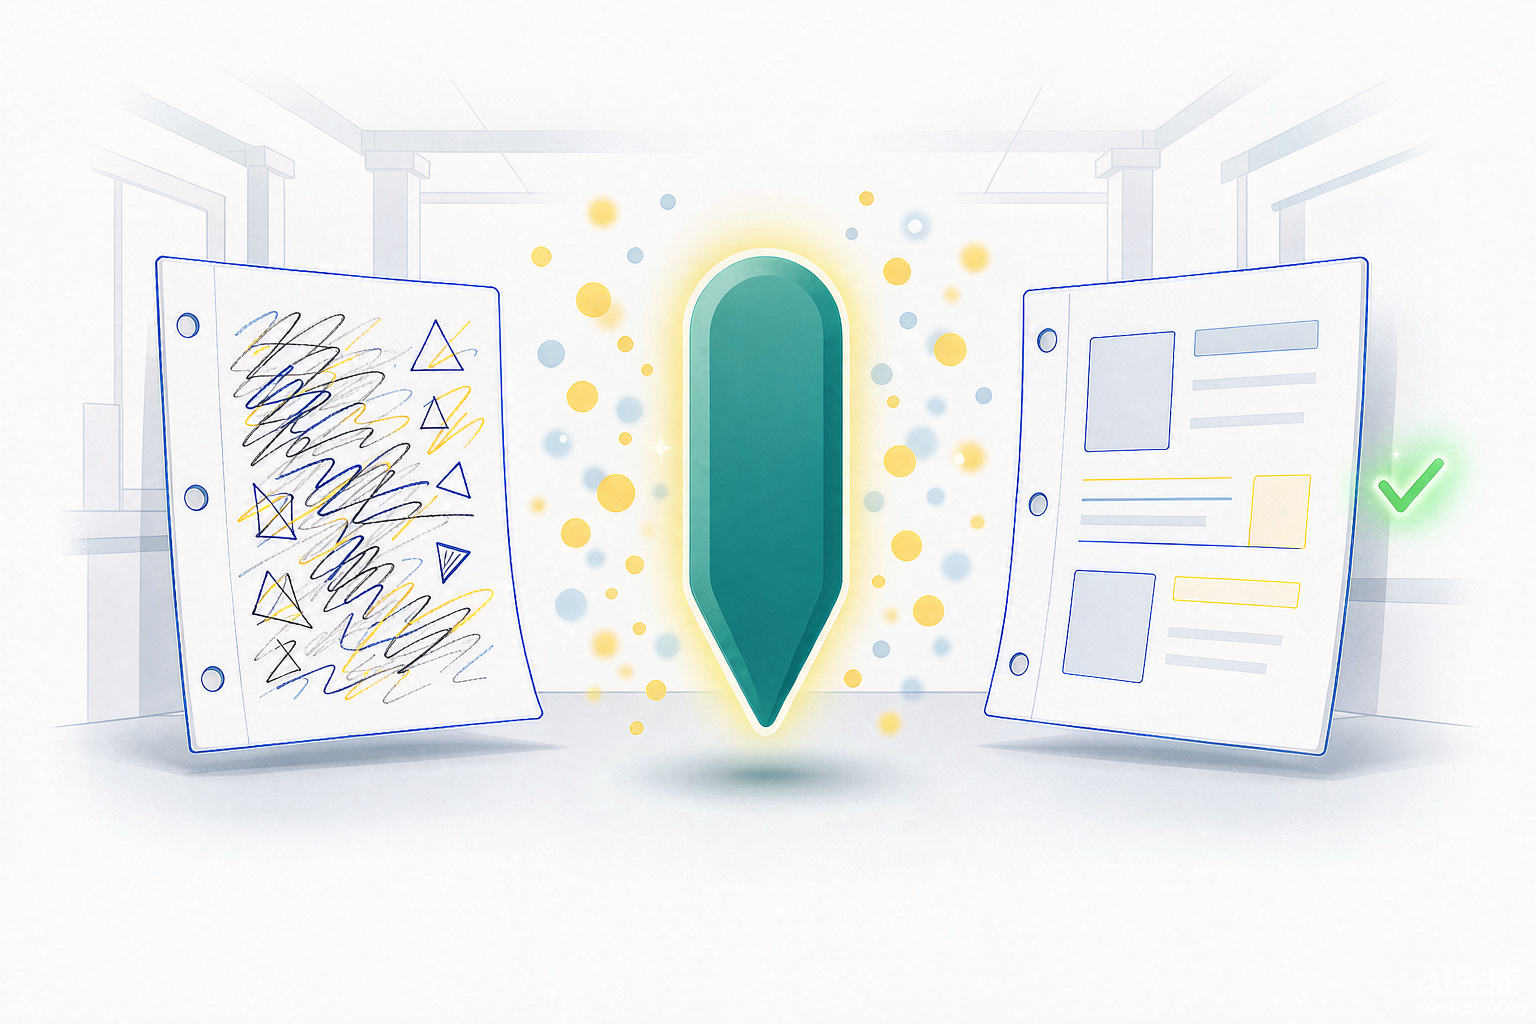
Every teacher, tutor, and parent knows the situation: a stack of worksheets that have already been filled in, and a student who would benefit from doing them again. Printing the same pages fresh means finding the original file — if it even exists — or buying the workbook a second time.
There is a third option: remove the handwriting digitally and turn the filled-in pages back into blank ones. Removing handwriting from a scanned PDF, a photo of a worksheet, or any image of a filled-in page is something AI can now do directly in your browser — free, with no software to install. This article explains how the technology actually works, what it can and cannot remove, and the exact workflow that produces a clean, printable result.
Why AI can "erase" handwriting at all
Start with a counterintuitive fact: no tool can literally erase ink from a photo. A physical eraser works because it lifts graphite particles off the paper. But a photo is a frozen grid of pixels — every mark's color and position has already been recorded. The only way to remove writing from an image is to rebuild the pixels underneath it.
So AI handwriting removal is really two jobs:
1. Recognize — tell handwriting apart from print. Printed text is regular: uniform stroke width, consistent spacing, identical character shapes across the whole page. Handwriting is the opposite — random stroke thickness, drifting baselines, characters that lean and overlap. That contrast is exactly what the recognition model looks for. This is why a serious handwriting-removal tool needs AI built in; a simple "white-out box" editor can't tell the two apart.
2. Rebuild — fill the erased area back in. Once the handwriting is located, those pixels are removed and the background is reconstructed to match the surrounding paper texture. In image processing this is called inpainting. Good inpainting blends into the paper's color and faint print grid; bad inpainting leaves obvious white patches. The quality of this step decides whether you get a clean blank worksheet or a page covered in digital stickers.
Both steps depend on one thing: the quality of the photo. Recognition runs on visual features — blur destroys features. That's why the next section matters more than any tool setting.
Before removing handwriting: turn the photo into a proper scan
Most failed attempts aren't the tool's fault — they're the photo's. Four problems come up again and again when people photograph worksheets with a phone:
- Shadows — your hand or arm shades half the page. Shadow edges look like strokes to the AI, so it may erase printed content or miss handwriting.
- Perspective skew — shot at an angle, the page edges form a trapezoid. The print grid gets stretched, features stop aligning, and error rates climb.
- Moire patterns — wavy ripples appear when photographing a screen or a low-quality print. The ripples and handwriting strokes get confused: the model can't tell mark from pattern.
- Yellowed paper — old worksheets, creases, uneven background. The rebuilt background patches won't match the uneven base color, and the result looks patched.
The fix is a 30-second normalization step before anything else: shoot straight-on with even lighting, flatten the page, and fill the frame. Better yet, run the photo through a document scan tool first — it removes shadows, corrects perspective, and whitens the background, producing a standard scan. Then remove the handwriting from the scan, not the raw photo. Doing it in that order produces dramatically cleaner results; doing it in reverse means asking the AI to guess from a crooked, shadowed image.
What comes off cleanly — and what doesn't
This is the most practically useful part of the whole process. Handwriting removal is not magic; sort your pages into these three groups before processing:
Removes cleanly
- Pencil, ballpoint, or fountain pen answers written next to questions — handwriting and print features are clearly separable, so recognition and background rebuilding both work well.
- Notes and working-out in blank margins — no overlap with print; the area is simply rebuilt as plain paper texture.
Mostly removable
- Teacher's red-pen corrections, ticks and crosses — the strong color contrast helps, but pale red can leave faint traces.
Risky or impossible
- Answers squeezed on top of printed text — erasing the handwriting may damage the print underneath; the AI has to guess the hidden parts.
- Areas covered by correction tape or heavy ink blobs — whatever is underneath doesn't exist in the photo, so there is nothing to rebuild from.
- Annotations written inside images or diagrams — rebuilding graphic content is far harder for AI than rebuilding plain paper.
One-line rule: if the writing and the print are visually separable, it comes off; if they're fused, it's hard or impossible. Before processing a stack, flip through it and set aside the pages with heavy over-writing — handle those individually or skip them, rather than letting two or three bad pages slow down the whole batch.
The full workflow: three steps to a blank worksheet
Step 1 — Get every page into image form. Working from photos? Shoot each page straight-on with even light, one image per page — or run them through the document scan tool first to normalize shadows and perspective. Starting from a scanned PDF? Convert its pages to images first with the PDF to JPG converter — handwriting removal works on images, so a PDF goes through this one extra step: PDF to JPG, clean each page, then back to PDF in Step 3.
Step 2 — Remove the handwriting. Upload the image to the AI handwriting removal tool — it works on a scanned PDF page, a photo, or any image of a filled-in sheet. It detects the handwritten marks automatically and erases them, keeping the printed questions and blank answer spaces intact. Always preview before saving — check two things: is the handwriting fully gone, and are the printed questions unharmed? For the occasional leftover stroke, process the page again or retry with a sharper photo.
Step 3 — Organize the output. A single page can be saved and printed directly. For a full paper, combine the cleaned images into one file with the JPG to PDF converter, then use Merge PDF to bundle multiple worksheets into a single archive. Name files by subject and term — "Grade 5 Math · Fractions · 2026" — and finding the right one later takes seconds.
The whole workflow runs in the browser. No software to install, no account needed, and your files are never stored after processing.
Once it's blank again: three ways to reuse a worksheet
Erasing the handwriting is just the middle step. A restored blank page unlocks three genuinely useful workflows:
- Retake practice. Archive every quiz and test after cleaning it, then have the student "retake" the same paper a month later. It's the only honest check of whether they learned the material or just remembered the answers.
- Build an editable question bank. A cleaned page is OCR-ready. Run it through Image to Word and the questions become editable text — teachers can pick problems, change the numbers, and compose new papers without retyping a word. (For the underlying OCR technique, see our guide on converting scanned PDFs to editable Word documents.)
- Tutoring and classroom reuse. Old handouts, completed practice books, and last year's papers become fresh teaching material — at zero printing cost beyond the copies themselves.
A word on permissions: this workflow is for material you're allowed to reuse — your own child's papers, your own class's tests, or licensed materials. Commercially published workbooks are copyrighted; cleaning a page for personal practice is fine, but redistributing or selling the result is not.
Frequently asked questions
Will handwriting removal damage the printed questions?
Almost never. AI separates handwriting from print with high accuracy. The only real risk is handwriting written directly on top of printed text — which is exactly what the boundary table above flags as "risky." Preview every page and retry unclear ones with a sharper photo.
Does it matter whether the worksheet was filled in with pencil or pen?
Not much — both come off cleanly. Photo quality matters far more than pen type. In a blurry photo, light pencil marks are actually harder for the AI to detect than dark ink, not easier.
Can I process a whole stack of pages?
Yes — process each page individually, then combine the cleaned images with JPG to PDF and bundle them with Merge PDF into one archive.
Do I need to install software or create an account?
No. WhizPDF's handwriting removal runs entirely in your browser: upload, automatic processing, download — free, with no sign-up, and files are never stored.
Can it remove handwriting directly from a PDF file?
The removal tool works on images, so a scanned PDF takes one extra step: convert its pages to JPG with the PDF to JPG converter, clean each page with the handwriting removal tool, then rebuild the PDF with JPG to PDF. The whole loop runs in the browser and takes a couple of minutes.
Can I print the blank worksheet right away?
Yes. The output is a clean image that prints like a fresh worksheet. If print quality matters, run the original photo through document scan first — the whiter the background, the cleaner the print.
The bottom line: handwriting removal is half AI, half photography. Fix the habit of "scan first, erase second, organize last," and a semester's worth of completed worksheets turns into a reusable blank question bank in about an hour.
Tried it in the article? Do it for real, free:
Remove Handwriting PDF to JPG Document Scan JPG to PDF Merge PDF Image to Word
No sign-up. Files processed in your browser and never stored.